title: Japanese Skincare Patch Test Guide: At-Home Safety Steps description: "Learn how to patch test Japanese skincare products at home safely. Discover step-by-step forearm testing, delayed reaction checks, and dermatologist advice." meta_description: Learn how to patch test Japanese skincare products at home safely. Discover step-by-step forearm testing, delayed reaction checks, and dermatologist advice. published_at: "2026-11-17" updated_at: "2026-11-17" fact_checked_at: "2026-11-17" author: "Miho Tanaka" category: "how-japan-works" slug: "japanese-skincare-patch-test-guide" thumbnail: "/images/stock/patch-test-forearm-application.jpg" thumbnail_alt: "Applying a small swatch of cosmetic lotion to the inner forearm for an at-home patch test" affiliate: false ja_equivalent: null publish: true
Japanese Skincare Patch Test Guide: At-Home Safety Steps
Introducing a new Japanese skincare product into your daily regimen is exciting. Whether you are exploring fermented rice filtrates, botanical licorice derivatives, or high-potency vitamin C quasi-drugs, discovering novel formulas is a hallmark of J-Beauty.
However, even the gentlest, award-winning formulas contain botanical complexes and active compounds that can trigger unexpected individual sensitivities. In cosmetic dermatology, a patch test is a diagnostic method used to determine which specific substances cause allergic inflammation[1] of the skin.
Performing a simple, at-home patch test before applying a product to your entire face is an essential safety habit that prevents widespread irritation and protects your skin barrier.
To patch test a new skincare product, apply a dime-sized amount to clean skin on your inner forearm or behind your ear. Leave the area undisturbed and unwashed for 24 to 48 hours, monitoring for signs of redness, burning, itching, or swelling. If no adverse reaction occurs, test a small dab along your lower jawline for another 24 hours before applying the product across your entire face. If any stinging or rash appears, wash the formula away immediately and discontinue use.
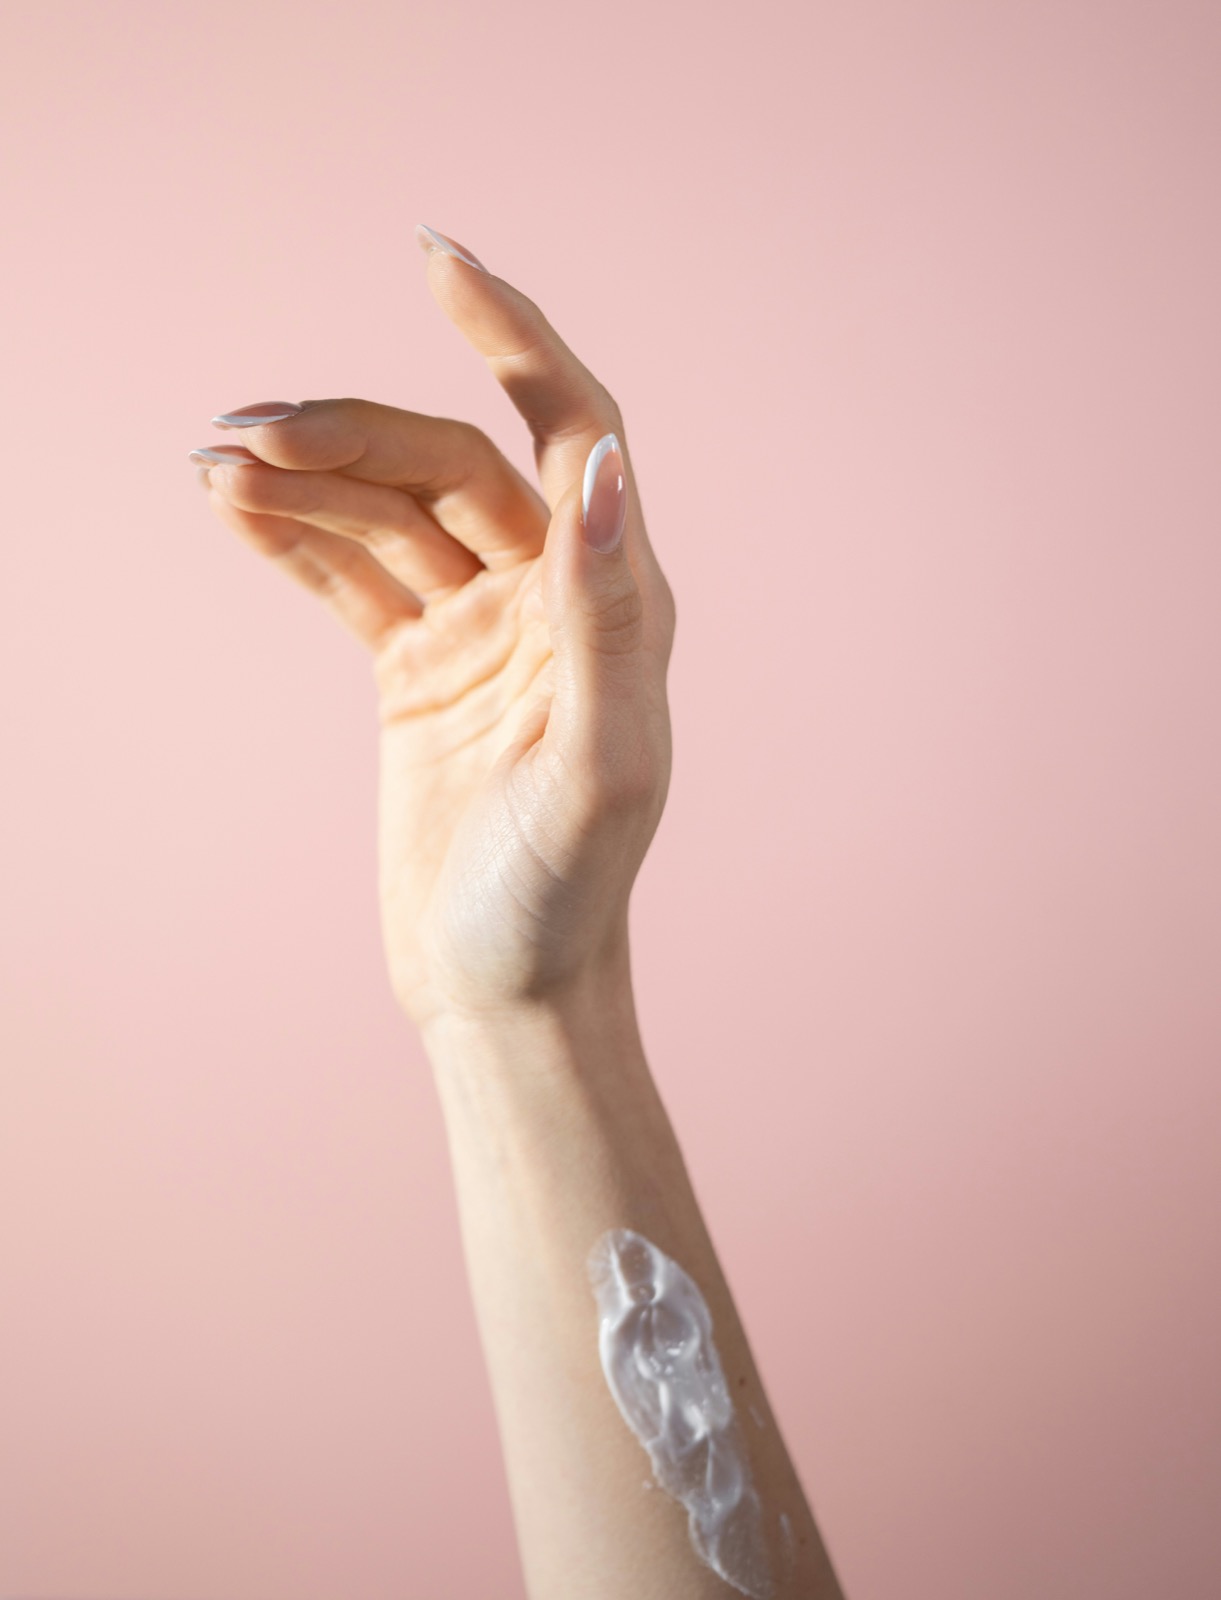
Testing small product amounts on the inner forearm allows you to detect localized sensitivity safely away from the face.
Why Patch Testing J-Beauty Formulations Is Essential
Japanese cosmetics are renowned globally for stringent safety standards and low-irritation formulations. However, individual skin physiology varies dramatically, and foreign consumers frequently encounter unique formulation elements:
- Regional Botanicals: Traditional Japanese ingredients like dokudami (Houttuynia cordata), mugwort (yomogi), and yuzu citrus extract contain natural polyphenols and essential oils that can provoke reactive skin.
- Fermented Metabolites: Fermented rice yeast (sake kasu) and galactomyces filtrates are biologically active. While exceptional for barrier support, active enzymes can temporarily overwhelm compromised skin.
- Quasi-Drug Active Concentrations: Japanese quasi-drugs (iyaku-bugaihin) incorporate clinical-grade percentages of tranexamic acid, dipotassium glycyrrhizate, or arbutin that require gradual acclimation.
Without testing first, an adverse reaction can compromise the stratum corneum—the outermost protective shield of flattened, terminally differentiated keratinocytes[2]—leading to widespread peeling, redness, and dehydration.
Step-by-Step At-Home Patch Testing Protocol
Follow this simple 4-step procedure whenever introducing a new Japanese lotion, serum, emulsion, or sunscreen:
Step 1: Select the Test Site
Choose a discreet patch of skin with similar thickness and sensitivity to facial tissue:
- Inner Upper Forearm: Ideal for monitoring daytime visibility and ease of application.
- Behind the Ear or Along the Jawline: Excellent secondary test zones that closely mimic facial skin reactivity and capillary response.
Step 2: Cleanse and Apply
- Wash the chosen test area with lukewarm water and a mild soap, then pat dry thoroughly with a clean towel.
- Dispense a pea-sized amount of the product and smooth it over a circle roughly the size of a coin.
- Allow it to dry down naturally. For leave-on lotions or creams, do not rinse the area.
Step 3: Wait and Observe (The 24 to 48-Hour Rule)
- Keep the test patch dry and avoid scrubbing it during showers.
- Check the skin at 1 hour, 24 hours, and 48 hours.
- Some reactions occur immediately, while immunological responses require up to two full days to manifest.
Step 4: The Secondary Jawline Check
If your forearm shows zero reaction after 48 hours, conduct a small "use test" by applying a dab along the lower jawline for one additional evening. If clear, you can confidently integrate the product into your full facial routine.
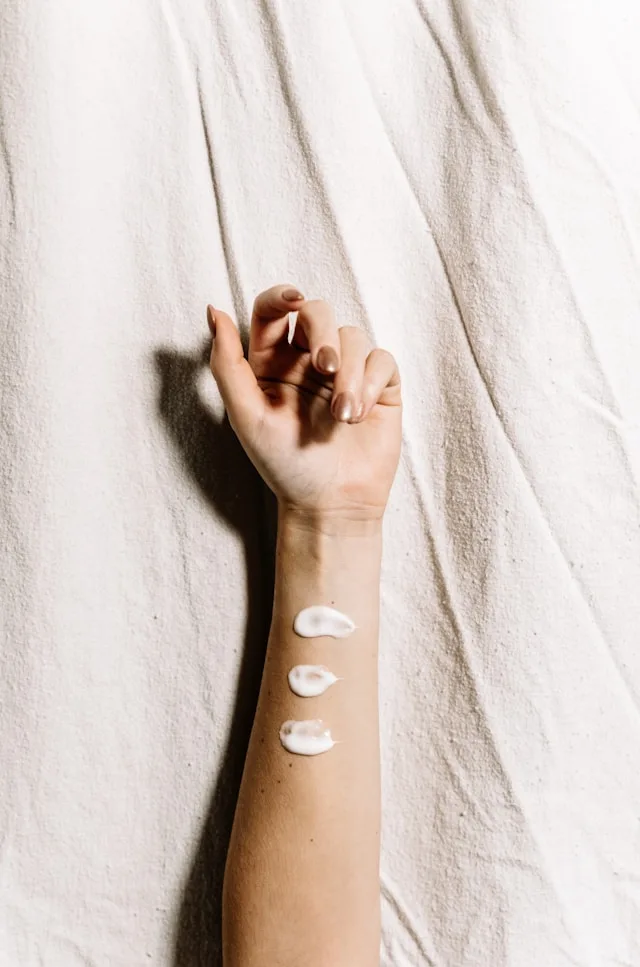
When testing multiple new products, swatch them in distinct zones and introduce them into your routine one at a time.
Understanding Skin Reactions: Irritation vs Allergy
Not all negative skin responses stem from the same biological mechanism. Distinguishing between physical irritation and an immunological allergy helps you choose safer alternatives:
1. Irritant Contact Dermatitis
Contact dermatitis is a type of acute or chronic inflammation of the skin caused by exposure to chemical or physical agents[3].
- Cause: Direct physical or chemical injury to the skin barrier (e.g., high alcohol content, high-strength peeling acids, or stripping surfactants).
- Timing: Typically appears within minutes to hours after application.
- Characteristics: Burning sensation, localized stinging, and immediate surface erythema (redness) that remains strictly confined to the application zone.
2. Allergic Contact Dermatitis
An allergy is an exaggerated immune response where the body mistakenly identifies an ordinarily harmless allergen as a threat[4].
- Cause: T-cell mediated immune reaction to a specific sensitizing molecule (such as a synthetic fragrance, botanical resin, or specific preservative).
- Timing: Delayed onset, typically peaking 24 to 72 hours after initial exposure.
- Characteristics: Intense itching, raised red bumps, tiny fluid-filled blisters (vesicles), and redness that may spread beyond the original application border.
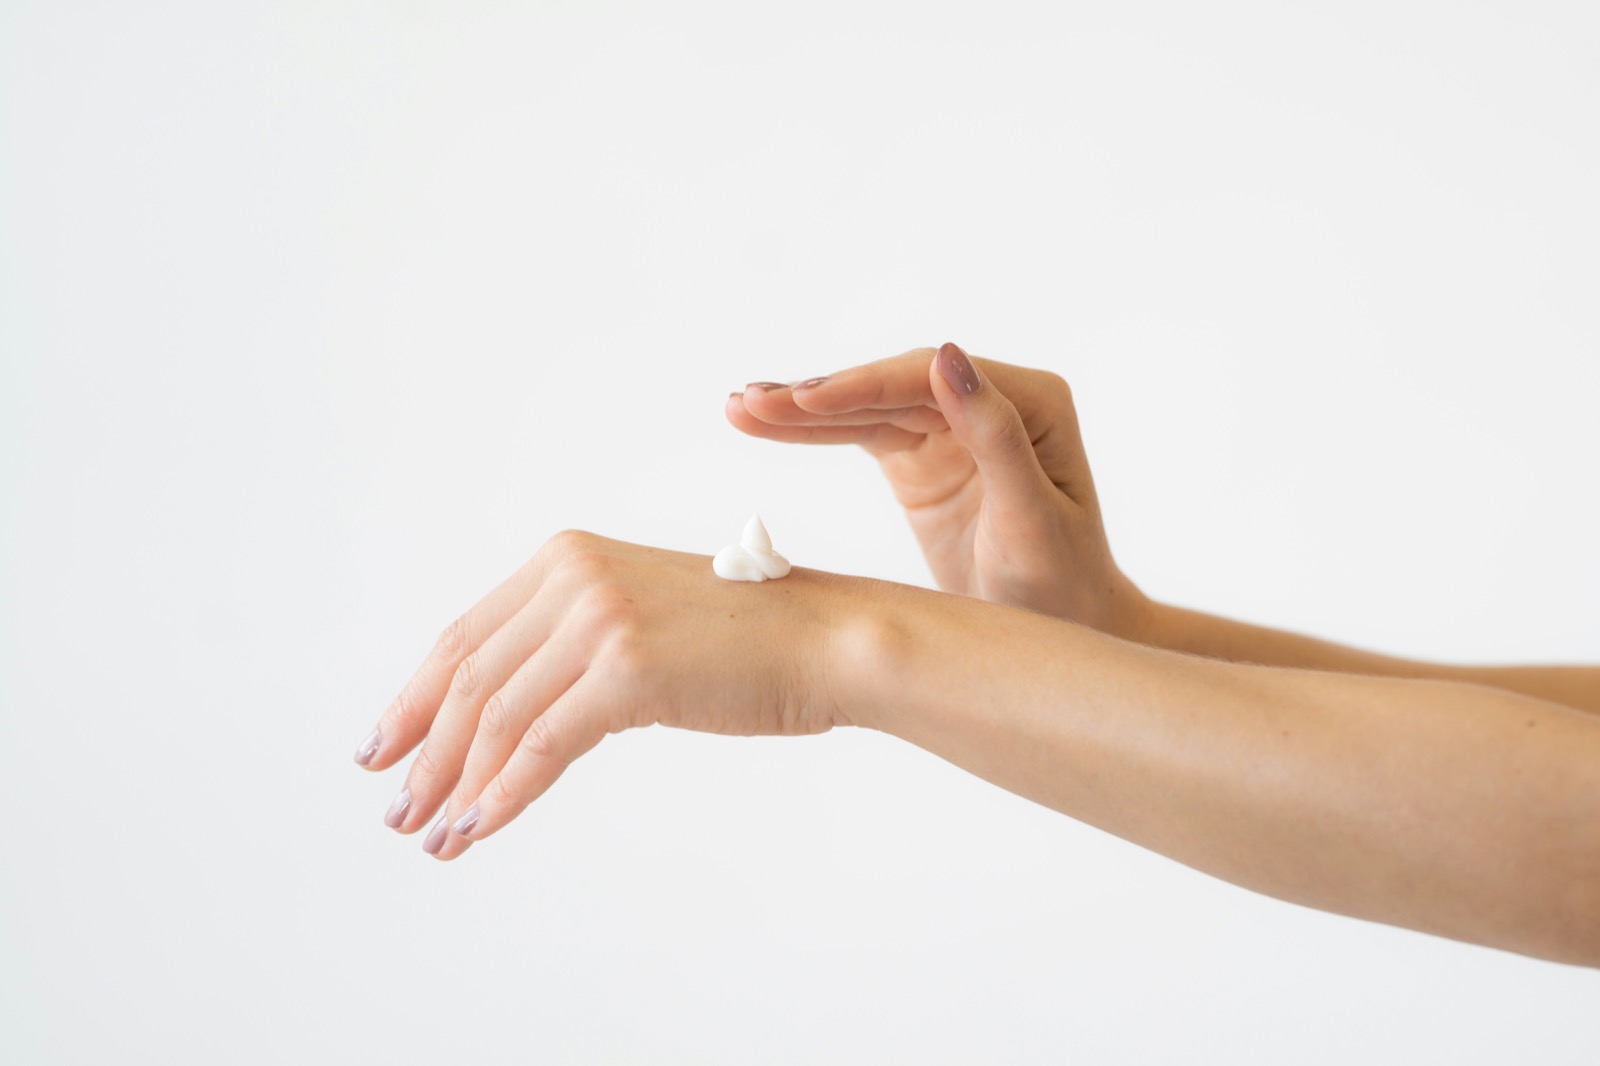
Observing texture, scent, and immediate skin comfort on hands helps screen for preliminary product compatibility.
Testing Special Product Categories: Cleansers & Exfoliants
While leave-on lotions, serums, and creams can sit on the skin for 48 hours, specific product categories require adapted patch-testing methods:
1. Foaming Cleansers and Cleansing Oils
Cleansers contain active surfactants designed for short-term skin contact. Leaving a cleanser on the forearm for 24 hours will naturally cause chemical irritation.
- Adapted Protocol: Lather a small amount with water, apply it to the inner forearm, leave it for 2 to 3 minutes, then rinse thoroughly with lukewarm water. Monitor the site for delayed redness over the next 24 hours.
2. Sheet Masks
Never unfold an entire sheet mask just to patch test a corner.
- Adapted Protocol: Snip a tiny corner of the foil pouch and squeeze out a few drops of the interior liquid essence. Apply the liquid to your forearm and seal the pouch with a paperclip in the refrigerator until testing is complete.
Comparison Table: Irritant vs Allergic Reaction
Scroll horizontally to view full table
| Parameter | Irritant Reaction | Allergic Reaction |
|---|---|---|
| Biological Mechanism | Direct barrier barrier disruption | Immune system hypersensitivity (T-cell response) |
| Onset Time | Immediate (within minutes to 2 hours) | Delayed (24 to 72 hours post-application) |
| Dominant Sensation | Sharp stinging, burning, or tightness | Intense itching, heat, and prickly discomfort |
| Visual Appearance | Dry redness confined to contact area | Raised red bumps, hives, spreading rash |
| Subsequent Action | Rinse with water; product may be diluted or paused | Discontinue product completely; avoid ingredient |