In a classical Japanese skincare routine, hydration is only half the equation. While hydrating lotion (keshosui) floods the stratum corneum with moisture, that water will rapidly evaporate into thin air without a protective lipid shield. This is where Japanese milky lotion emulsion (nyueki) plays its essential role.
Unlike heavy, occlusive Western night creams that can feel suffocating or greasy on combination skin, a Japanese milky lotion emulsion is an exquisitely balanced oil-in-water fluid. However, applying it incorrectly—whether by rubbing aggressively, using the wrong dosage, or skipping key facial zones—can leave your skin parched in some areas and shiny in others.
Quick answer:
How do you apply Japanese milky lotion emulsion correctly?
To apply a Japanese milky lotion emulsion (*nyueki*) properly, dispense a coin-sized amount (about 1 to 2 pumps) onto your palm immediately after applying hydrating lotion. Dot the fluid across 5 key points: both cheeks, forehead, tip of the nose, and chin. Smooth the fluid outward using the pads of your fingers from the broad cheeks toward the perimeter, blending sheer residue over the T-zone. Finish by enveloping your face with warm, cupped palms (*hand press*) for 10 to 15 seconds to seal in barrier moisture without friction.
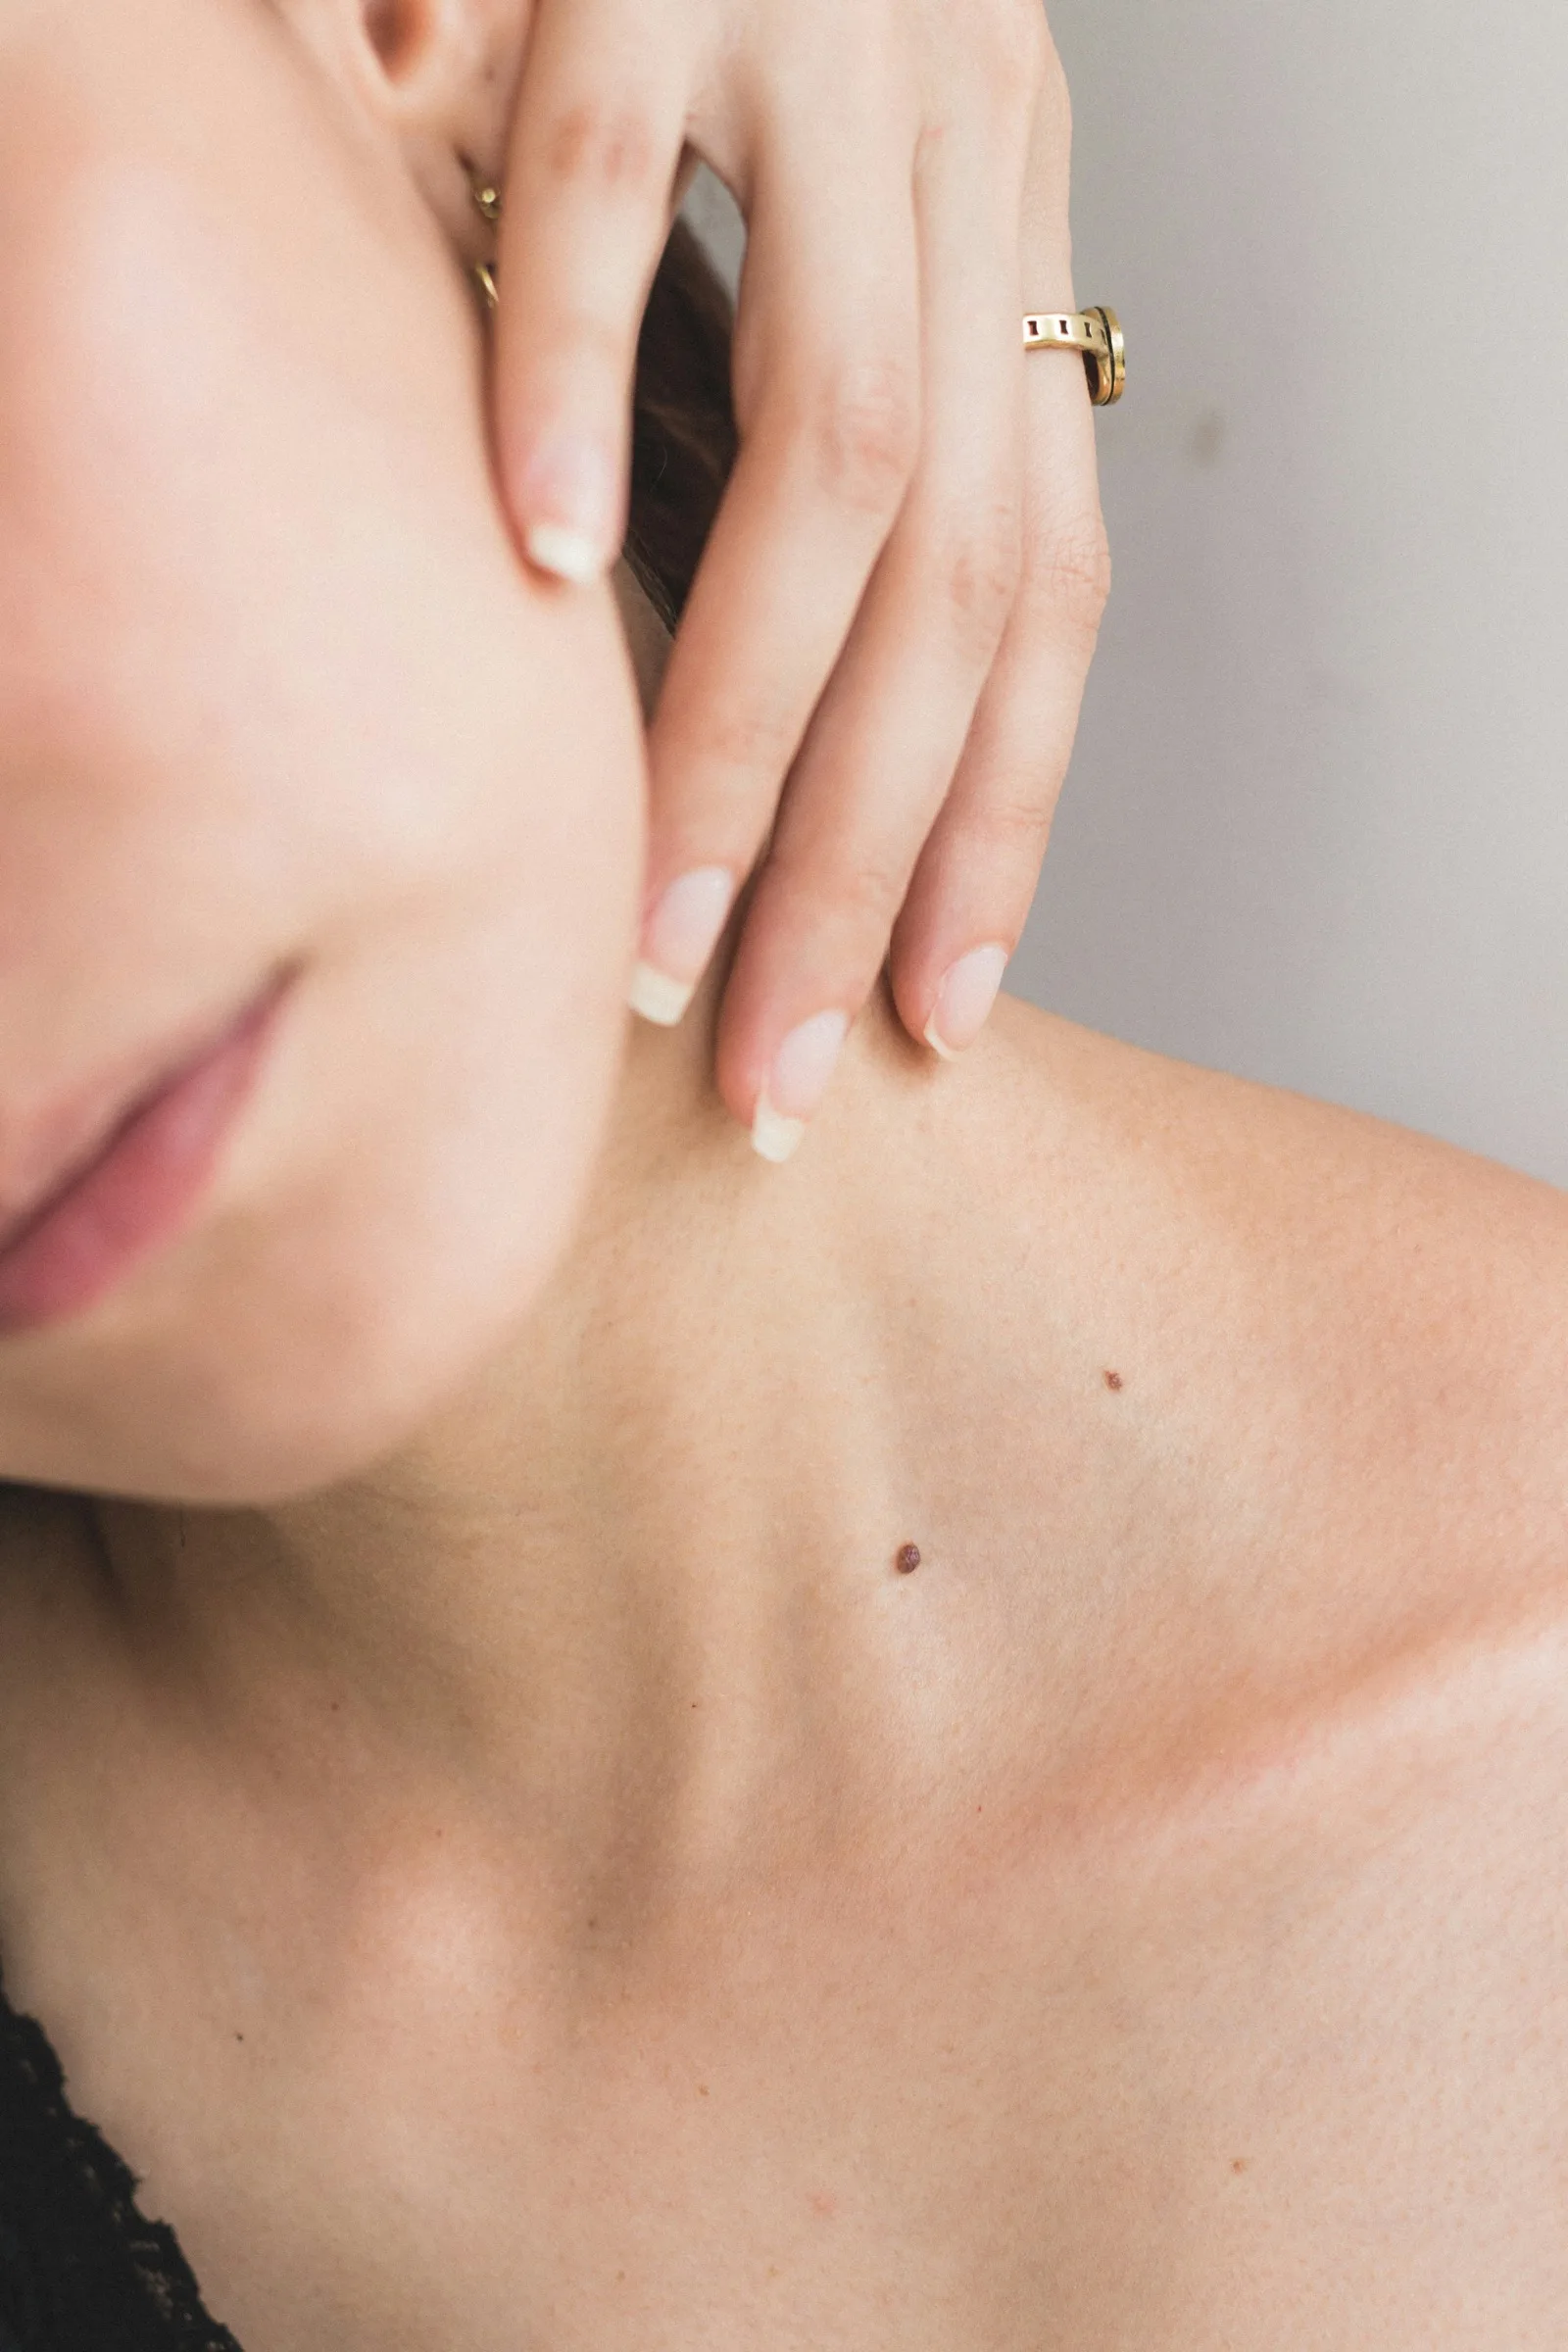
What Makes Japanese Milky Lotion Emulsion Unique?
In Western skincare, moisturizers typically fall into two extremes: featherweight oil-free gels or rich, buttery creams formulated with high concentrations of petrolatum or heavy plant waxes.
Japanese nyueki occupies a specialized middle ground:
- Lipid-Water Emulsification: Formulated with approximately 70–80% water and humectants blended with 20–30% emollient lipids (such as squalane, jojoba oil, or synthetic ceramides), it replicates the skin's natural hydrolipidic film.
- Stratum Corneum Softening (Junan): Rather than forming an impenetrable plastic-like mask over the face, milky lotion integrates into the intercellular matrix between keratinocytes, leaving skin supple, bouncy, and velvety to the touch (mochi-hada).
- Breathable Moisture Barrier: It allows skin perspiration and temperature regulation to function naturally, making it comfortable for both high-humidity summers and dry indoor winters.
Dosage and Timing: The Golden Window After Lotion
The efficacy of your milky lotion depends heavily on when and how much you apply:
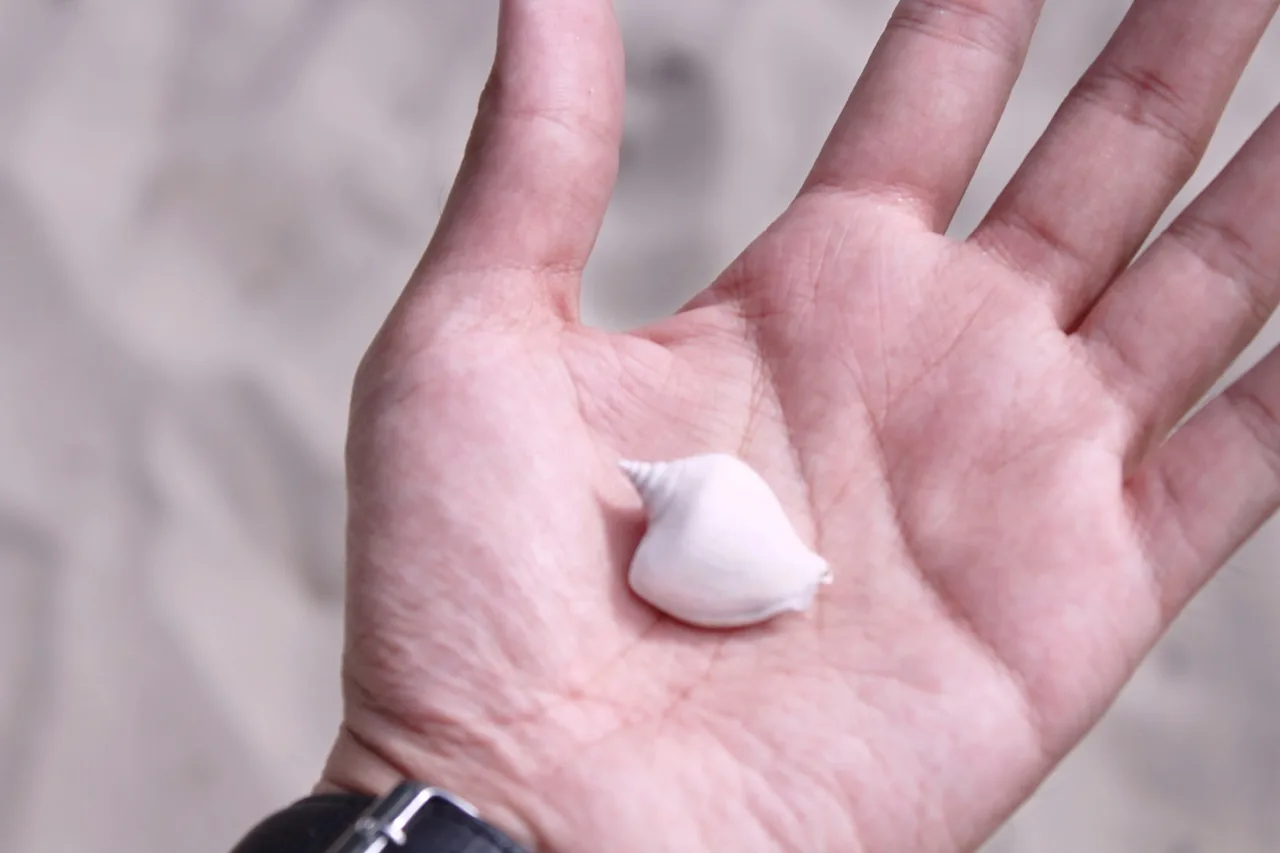
Measuring the Correct Dosage
- Standard Bottle Dispenser: Pour a coin-sized pool, approximately 20 to 25 mm in diameter (comparable to a Japanese 10-yen coin or a US nickel).
- Pump Bottle Dispenser: Depress the pump 1 to 2 full times.
Caution on Under-Dosing: Many individuals with combination or oily skin make the mistake of using only a microscopic drop out of fear of shine. Using too little product deprives the skin of sufficient glide, forcing fingers to drag against the surface and causing micro-friction that stresses delicate barrier lipids.
The 60-Second Golden Rule
Never wait until your hydrating lotion (keshosui) has completely dried down or evaporated. The optimal moment to apply nyueki is while your skin still feels cool, damp, and plump to the touch—typically 30 to 60 seconds after patting on your lotion. Applying emulsion over damp skin blends easily across the surface, locking in water before transepidermal water loss can occur.
Step-by-Step: The Authentic 5-Point Application Technique
Japanese beauty advisors use the classic "five-point placement" (go-ten oki) method to ensure even coverage across facial contours:
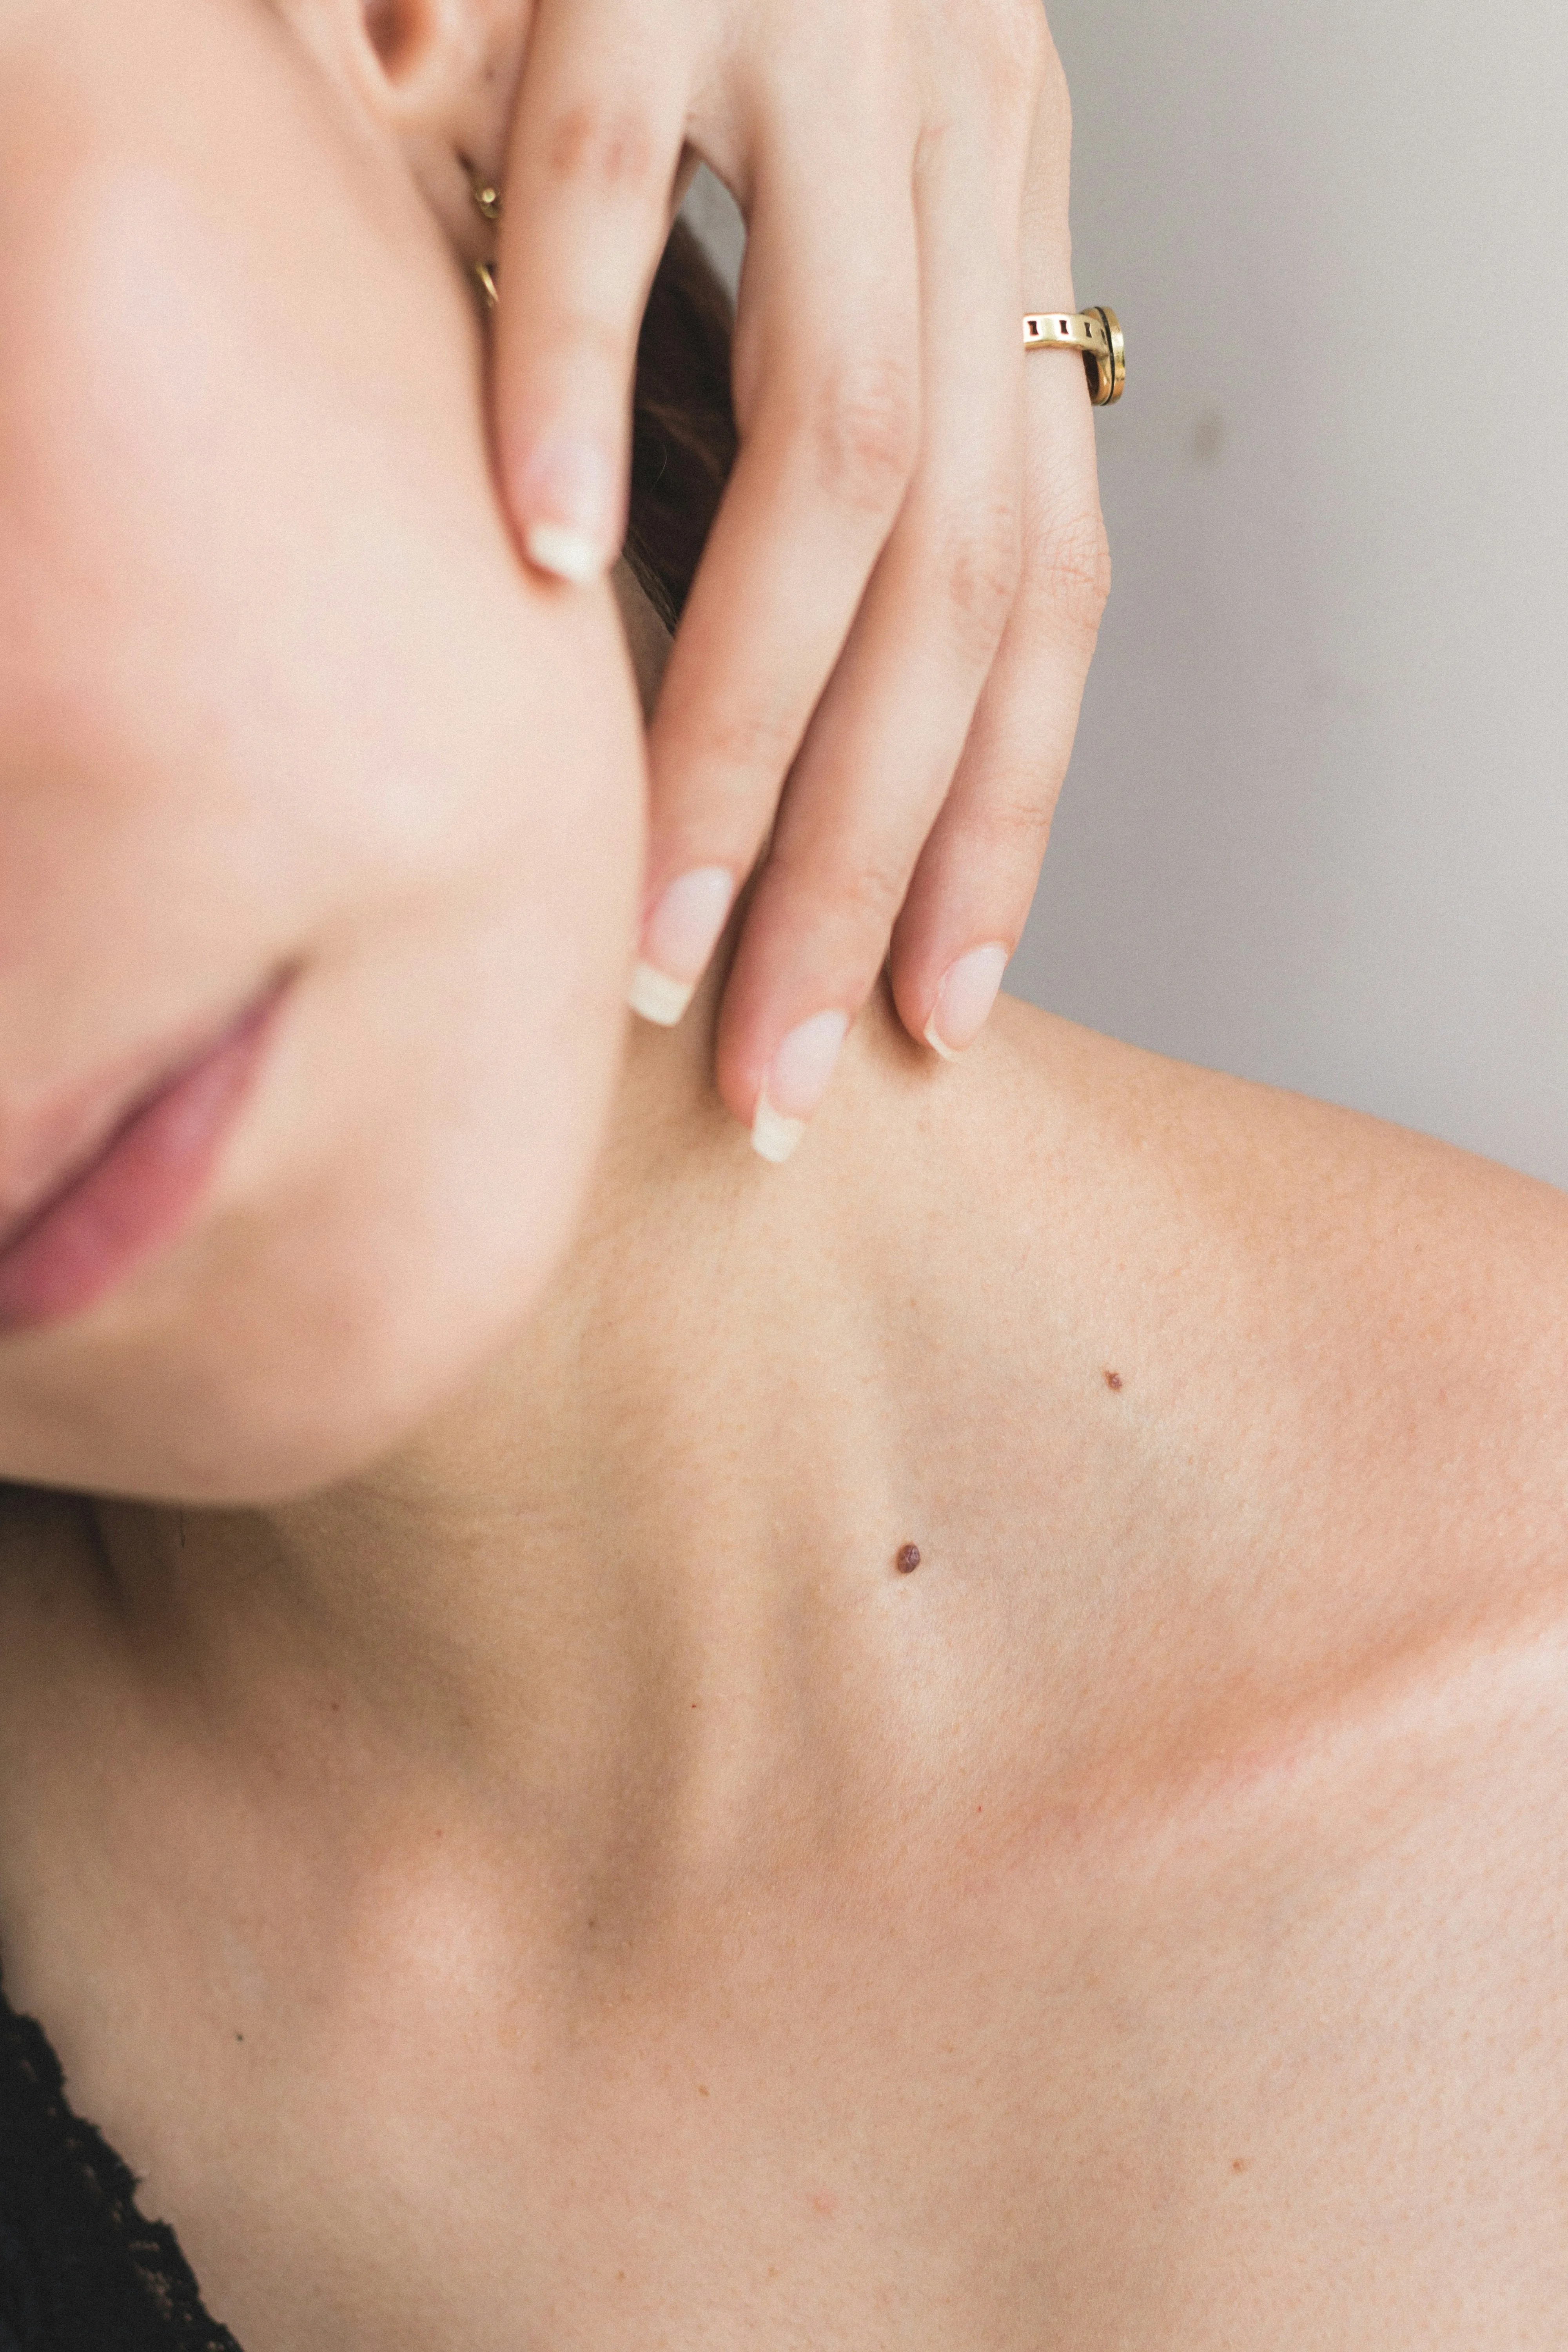
Step 1: Pre-Cleansing and Gentle Hydration
Always begin with clean skin. Wet your face with lukewarm water and use your fingertips to apply cleanser.[1] Keep your cleansing routine brief; limit baths and showers to five to ten minutes, using warm water.[3] Resist the temptation to scrub your skin because scrubbing irritates the skin.[1] Rinse with lukewarm water and pat dry with a soft towel.[1] Saturate the stratum corneum with your hydrating lotion (keshosui).
Step 2: Dispense and Dot Across 5 Points
Dispense your measured coin-sized amount into your palm. Using the ring or middle fingertip of your opposite hand, dab the milky lotion onto 5 specific points:
- Right Cheek (Generous dab)
- Left Cheek (Generous dab)
- Forehead (Moderate dab)
- Tip of the Nose (Small dab)
- Chin Crease (Moderate dab)
Placing larger portions on the cheeks ensures that the driest, most UV-exposed zones receive the greatest moisture concentration, while the oilier T-zone receives a lighter veil.
Step 3: Outward Gliding Along Facial Contours
Using the flat pads of your fingers, gently spread the emulsion from the center of the face outward:
- Cheeks: Glide smoothly from the sides of the nose outward across the cheekbones toward the temples.
- Forehead: Move upward from between the eyebrows and sweep outward across the forehead.
- Nose & Mouth: Glide downward along the bridge of the nose and gently circle around the lips and chin.
- While washing, resist the temptation to scrub your skin, even to remove makeup.[2] Apply the same gentle, non-dragging touch during emulsion smoothing.
Step 4: Eye Perimeter and Neck Sweep
With the remaining lightweight residue on your fingertips, gently tap around the orbital bone under the eyes. Bring your hands down to sweep upward along the neck and collarbone, extending essential hydration to delicate neck tissue.
Step 5: The Warm Hand-Press Sealing Step (Hand Press)
Rub your palms together lightly to generate warmth, then gently enclose your entire face with both hands:
- Cup cheeks in your palms for 5 seconds.
- Place one hand across your forehead and the other over your chin for 5 seconds.
- Press gently around the eye perimeters.
The ambient warmth of your hands softens the emollient lipids, encouraging the milky lotion to integrate smoothly into the stratum corneum without mechanical friction.
Hands vs Cotton Pad: Which Application Method Is Better?
In Japan, beauty enthusiasts actively debate between applying milky lotion by hand versus with a dedicated skincare cotton pad:
Scroll horizontally to view the full comparison.
| Application Method | Recommended Skin Type | Key Advantages | Technique Considerations |
|---|---|---|---|
| Bare Hands (Hand Press) | Sensitive, dry, or barrier-compromised skin | Zero friction; body heat softens emollient lipids; zero product waste | Requires clean hands; ensure even distribution across all zones |
| Specialized Cotton Pad | Normal to oily skin; textured pore zones | Distributes micro-thin layers into microscopic skin furrows (*sulci*) | Must fully saturate pad to avoid dry drag; requires high-grade cotton |