How to Use Japanese Hydrating Lotion: Hand-Press Guide
HydrationBy Miho Tanaka
title: How to Use Japanese Hydrating Lotion: Hand-Press Guide
meta_description: Learn how to use Japanese hydrating lotion. Discover the hand-press technique, multi-layering methods, and cotton packs for supple, hydrated skin.
affiliate: false
How to Use Japanese Hydrating Lotion: Hand-Press Guide
If you have recently added a Japanese watery lotion (keshosui) to your daily vanity, learning how to use Japanese hydrating lotion correctly helps you maximize its skin-plumping potential.
Unlike Western astringent toners designed to be swiped with cotton rounds to strip away lingering residue, Japanese hydrating lotions are pure humectant elixirs meant to bathe the stratum corneum in deep, weightless moisture. Applying them with the wrong technique—such as aggressively rubbing your skin with dry pads or letting the liquid evaporate without a moisturizer—can compromise your barrier. Master the gentle Japanese ritual of warming, pressing, and layering to achieve balanced, supple hydration every morning and evening.
Quick answer: To master how to use Japanese hydrating lotion, dispense a coin-sized amount (roughly 1/2 teaspoon) into clean palms, rub your hands together briefly to warm the fluid, and gently press the liquid across your face and neck using the flat surface of your hands (hand-press). Avoid abrasive rubbing or pulling. For dehydrated skin, apply two to three light layers sequentially, and immediately seal in the water-binding humectants with a lightweight Japanese emulsion (nyuueki) while your skin remains damp.
Step 1: Preparing Your Skin Barrier Immediately After Cleansing
The secret to maximizing the hydration of a Japanese watery lotion lies in proper timing right after cleansing.
Conclusion: Apply your Japanese hydrating lotion within 60 seconds of washing your face while your skin remains freshly damp, preventing rapid trans-epidermal moisture loss.
When you cleanse your face with lukewarm water, surface keratin cells swell and the intercellular lipid channels temporarily open. If you towel off aggressively and wait ten minutes before applying skincare, moisture evaporates rapidly into ambient air, leaving surface cells parched and tight.
Instead, after washing with a gentle foaming cleanser, lightly pat your face with a clean, soft towel just enough to stop water from dripping. The skin surface should feel pleasantly moist and cool, not bone-dry.
Dermatologists emphasize this moisture-locking principle across daily care routines. According to clinical advice from the American Academy of Dermatology, be sure to apply your moisturizer when your skin is still damp after taking a shower or bath, after washing your hands, and when your skin feels dry[3]. Applying your hydrating lotion at this exact moment allows water-loving humectants like hyaluronic acid and glycerin to capture and bind surface water before it escapes.
Step 2: The Signature Japanese Hand-Press Technique
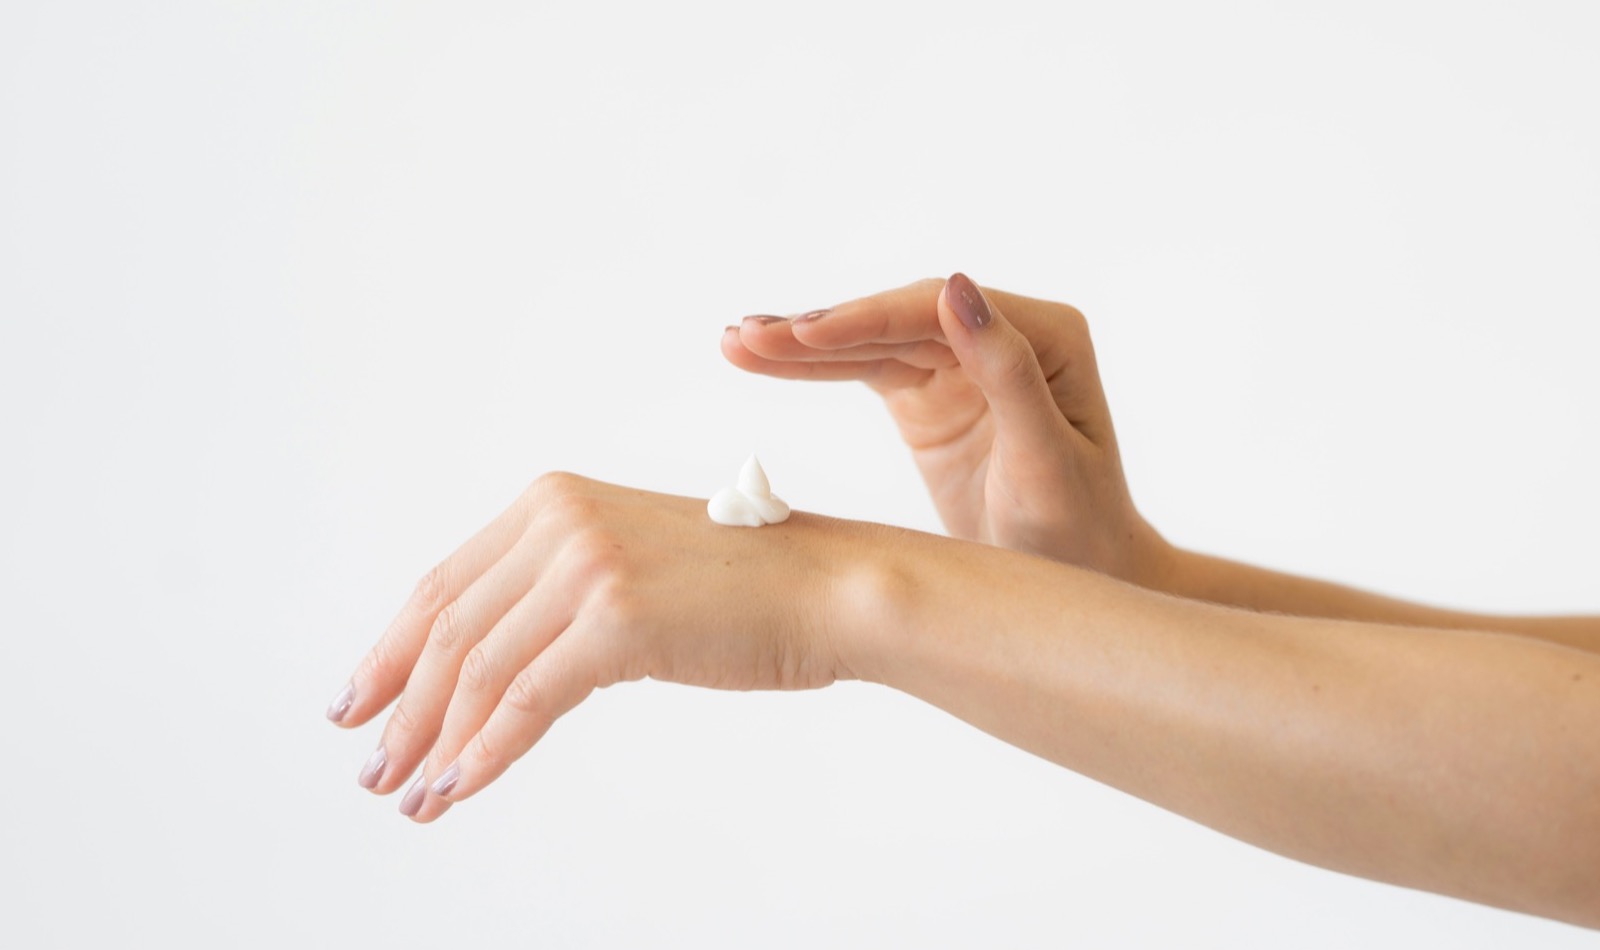
The traditional Japanese method for applying watery lotion is the Hand-Press (hand-press). This technique uses the natural warmth and broad surface area of your palms to encourage absorption without causing mechanical irritation.
Conclusion: Warming lotion between your palms and gently pressing it against your facial contours ensures even humectant distribution while avoiding the microscopic friction caused by cotton pad swiping.
Step-by-Step Hand-Press Ritual:
Dispense into the Palm: Pour a nickel-to-quarter-sized pool of lotion into the hollow of one cupped hand. If using a high-viscosity essence lotion, start with four to five drops.
Warm the Liquid: Bring both palms together and rub gently for two seconds. Warming the formula brings the fluid closer to body temperature, allowing it to spread effortlessly across the skin surface.
Press the Cheeks: Cup both palms over your cheeks, gently pressing inward for 3 to 5 seconds. Breathe slowly and let the warmth of your hands facilitate humectant adherence across broad surface areas.
Cover the Forehead and Chin: Move one palm horizontally across your forehead and the other over your chin, applying gentle, stationary pressure.
Target Micro-Contours: Use the soft pads of your middle and ring fingers to gently pat remaining fluid around the delicate eye contours, along the bridge of the nose, and over the upper lip.
Smooth Down the Neck: Sweep excess lotion down your neck and over your collarbones using gentle upward and outward pressing motions.
Why Avoid Scrubbing and Rubbing?
A primary advantage of hand-pressing is the complete absence of physical abrasion. Many newcomers mistakenly wipe watery lotions across their faces with textured cotton pads or vigorous rubbing motions, which can stretch delicate skin fibers and provoke redness.
Dermatological guidance cautions against physical friction. As noted by the American Academy of Dermatology, resist the temptation to scrub your skin because scrubbing irritates the skin[1]. Using flat palms provides comforting, stationary contact that respects sensitive skin barriers.
Comparing Application Methods: Palms vs Cotton Pads vs Lotion Packs
While hand-pressing is the everyday standard in Japanese beauty routines, other application methods serve specific purposes depending on your skin condition and lifestyle.
Conclusion: Hand-pressing is ideal for daily hydration and sensitive barriers; fully saturated cotton pads suit gentle skin conditioning; and 3-minute cotton lotion packs provide intensive moisture compresses for travel or dry weather.
Scroll horizontally to view full table
Application Method
Tools Required
Ideal Skin Types
Key Technique Rule
Palm Hand-Press
Clean bare hands
Daily morning/night routines; dry, sensitive, or reactive skin types
Press and hold for 3–5 seconds; avoid rubbing or dragging across skin
Cotton Pad Swiping
High-grade, multi-layer peelable cotton pad
Exfoliating clarifying lotions; removing mineral residue from hard tap water
Soak pad until completely saturated and translucent; glide with zero pressure
3-Minute Lotion Pack
Peelable thin cotton sheets or compressed sheet mask
Severe dehydration, winter dryness, post-flight parched skin, pre-makeup prep
Leave on for precisely 3 minutes; remove while cotton is still visibly damp
To discover how these gentle application rituals help achieve the plump, velvety bounce characteristic of Japanese skincare philosophy, read our guide on What is mochi skin Japanese beauty.
Step 3: Advanced Layering for Dehydrated Skin (Kasanedzuke)
When environmental factors such as indoor central heating, dry winter winds, or long airplane flights leave your skin feeling tight, applying a single layer of lotion may not suffice. Japanese beauty experts resolve this through Sequential Layering (kasanedzuke).
Conclusion: Applying two to three sequential micro-layers of watery lotion allows each humectant coat to absorb gradually, providing deeper surface plumping than flooding the face with one large puddle.
Cosmetic formulators emphasize the importance of methodical layering in daily care. In their educational guide on Japanese regimens, Hada Labo Tokyo observes that layering is applying the right products in the right order at the right time[2].
How to Practice Sequential Layering:
Apply Layer One: Press your initial nickel-sized coat over damp skin. Wait 30 seconds until the liquid has settled into the surface and your skin feels cool and supple.
Apply Layer Two: Dispense a dime-sized amount of lotion into your palms and press it specifically into dry zones—such as the cheeks, forehead, and around the mouth.
Test with the Back of Your Hand: Gently touch the back of your clean fingers to your cheek. If your skin feels soft, pliant, and slightly cool without wet puddling, your stratum corneum is optimally saturated.
For a comprehensive walkthrough on fine-tuning layer counts by season and skin type, review our dedicated breakdown on the Japanese lotion layering method.
Step 4: Sealing Hydration with Emulsion (Nyuueki)
One of the most common mistakes when adopting a Japanese skincare routine is stopping after the hydrating lotion step.
Conclusion: Watery lotions introduce vital hydration, but they contain virtually no occlusive oils. You must always seal in humectants with a lightweight emulsion (*nyuueki*) or cream to prevent moisture from evaporating into the air.
Hydrating lotions are formulated with water-loving molecules like hyaluronic acid and glycerin. While these ingredients hold water inside the stratum corneum, they cannot prevent evaporation on their own. In low-humidity environments, unsealed humectants can even pull water out of deeper skin layers toward the dry surface, worsening dehydration.
The Emulsion Lock Protocol:
Timing: Within 60 seconds of applying your final layer of lotion—while your skin still feels slightly cool and dewy—dispense a pea-to-dime-sized amount of Japanese emulsion (nyuueki).
Distribution: Warm the emulsion between your fingertips and smooth it over your face using gentle, sweeping strokes from the center outward.
The Final Press: Finish with a brief palm-press over your cheeks and forehead to blend the oil and water phases into a cohesive protective veil.
To compare how lightweight milky emulsions differ from traditional heavy creams, see our guide on Japanese emulsion vs moisturizer.
Signs to Stop and When to See a Doctor
While authentic Japanese hydrating lotions are renowned for their skin-friendly, alcohol-free formulations, excessive application or ingredient sensitivities can occasionally cause adverse skin reactions.
Discontinue Use If You Notice:
Persistent stinging, burning, or heat sensations lasting longer than five minutes after pressing in the lotion.
Sudden clusters of tiny red bumps, itching, or hives indicative of allergic contact dermatitis.
Over-hydration maceration: skin that feels excessively soggy, fragile, or prone to breakouts from overly occlusive layering.
Flaking or tightness around the eyes and mouth resulting from botanical extracts or fragrance oils.
When to Consult a Board-Certified Dermatologist:
If inflammatory redness, burning, or swelling fails to improve within 48 to 72 hours of discontinuing product use.
If you have an active inflammatory barrier condition, such as rosacea, atopic dermatitis, or perioral dermatitis, that flares in response to topical skincare.
If you suspect an allergy to common cosmetic preservatives (such as phenoxyethanol or parabens) and require formal diagnostic patch testing.
Always perform a 24-hour patch test on your jawline or inner forearm prior to applying a new hydrating formula across your entire face.
Summary: Key Takeaways for Using Japanese Hydrating Lotion
Apply Immediately to Damp Skin: Begin your routine within 60 seconds of washing your face to trap surface moisture before it evaporates.
Use the Hand-Press Method: Warm the lotion between clean palms and gently press inward; never scrub or pull the skin with dry cotton pads.
Layer for Custom Hydration: For dehydrated skin, apply two to three lightweight coats sequentially rather than one heavy application.
Try a 3-Minute Cotton Pack: Use thin, saturated cotton sheets as a quick moisture compress for parched, travel-weary skin.
Always Seal with an Emulsion: Lock in the water-binding humectants with an emulsion or cream to prevent trans-epidermal water loss.
FAQ
Q1. Should I use a cotton pad or my bare hands to apply Japanese lotion?
A. Bare hands are generally preferred for hydrating lotions. (Details)
Bare hands are generally preferred for hydrating lotions. Pressing with clean palms prevents friction, transfers comforting body warmth, and avoids wasting product absorbed by cotton pads. Reserve cotton pads for clarifying lotions or when removing mineral residue in hard water regions.
Q2. How much Japanese hydrating lotion should I dispense each time?
A. A nickel-to-quarter-sized pool (roughly 1/2 teaspoon) is ideal for a single full-face and neck application. (Details)
A nickel-to-quarter-sized pool (roughly 1/2 teaspoon) is ideal for a single full-face and neck application. If your lotion has a rich essence-like consistency, start with four to five drops and add more only if your skin absorbs it immediately.
Q3. Can I apply Japanese lotion while my face is still wet from washing?
A. Lightly damp is ideal. (Details)
Lightly damp is ideal. You should blot away dripping water with a clean towel so the lotion's active humectants are not overly diluted, but do not wait until your skin is bone-dry.
Q4. Why does my skin feel sticky after applying hydrating lotion?
A. Stickiness typically occurs when you apply too much product at once, when your skin is already fully saturated, or when the formula contains a high concentration of macro-hyaluronic acid. (Details)
Stickiness typically occurs when you apply too much product at once, when your skin is already fully saturated, or when the formula contains a high concentration of macro-hyaluronic acid. If stickiness persists, reduce your dosage, switch to a lighter *sappari* formula, or immediately smooth an emulsion over the top to neutralize tackiness.
Q5. Do I need to wait between applying lotion and emulsion?
A. No long wait is required. (Details)
No long wait is required. You only need to wait 30 to 60 seconds until the lotion is absorbed and no longer dripping wet. Sealing the lotion while the skin is still dewy helps the emulsion blend smoothly and locks in moisture.
Disclaimer: This article is for general information and education about Japanese cosmetics and their labels. It is not a substitute for professional medical advice, diagnosis, or treatment. Skincare results vary from person to person. Product formulas, availability, prices, and regulations change, and products sold in Japan can differ from versions sold elsewhere, so always check the current label. Do a patch test before introducing a new product, and consult a doctor or dermatologist if you have a skin condition or specific concerns.